Tips For Installing Porcelain Tile Floor
If you think that you are an expert in DIY, or even handyman quality, you may have considered tackling your own Porcelain Paving installation. Doing it yourself can save you money versus having your new floor professionally installed. It requires planning and preparation. It could take longer and money if you make mistakes while completing your ceramic tile flooring. to fix your errors. With the right planning and equipment, you'll be able to experience the feeling of satisfaction when you lay your own porcelain floor tile.
Here are some suggestions and tricks to use for installing your own porcelain floor tile.
Make sure to prepare your subfloor
If you fail to examine and prepare your subfloor, you could end up needing to begin all over again should you discover an issue later on. Make sure that the subfloor is level and if not, you can use an adhesive patch to make the needed adjustments. Use backer boards if you're not planning on installing the porcelain floor tile on top of a level cement floor. It's a good idea buy more backer boards than you estimate you'll require (even an additional 10%) so that you do not run out.
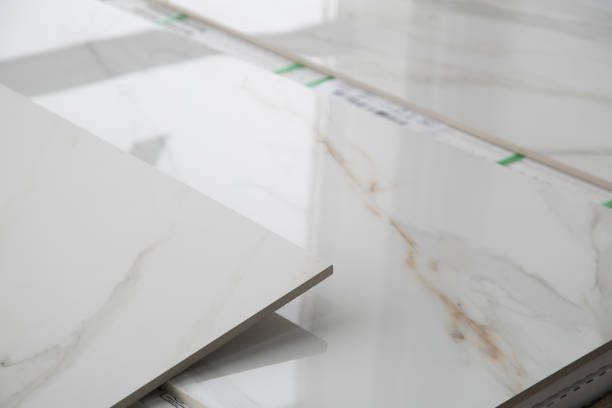
Mix your tiles
You can take multiple boxes of porcelain tile and mix them up randomly. This will keep any color variations between tiles from making a noticeable shift in color on your flooring made of porcelain.
Set out the porcelain tiles
Before you use any adhesive, practice placing the tiles outdoor porcelain tiles in your desired pattern. Begin at the middle of your room and lay the tiles in a line towards the wall. Leave small spaces between each tile. A quadrant at a, cover the room. This method will help you make sure you have enough tiles to finish the job. Additionally, you'll be able to make any necessary modifications to your tile, for instance, cutting a tile to be able to fit around a bathroom fixture.
Smooth your mix
If you wish your grout's thin-set or grout to come out extra smooth, allow it to sit for 10 minutes following mixing. This allows any dry areas to soak up water. Then, mix it a final time prior to applying. The final product should have the consistency of peanut butter.
Back-butter your tiles
Back-buttering involves using your trowel and apply thin-set to the tile porcelain slabs. This is similar to buttering bread. This is useful in situations where you 1) are in a corner and are unable to apply the thin-set directly to your floor with your trowel, or 2)) require that the tile sit slightly higher than others, or 3) you're using a bigger tile, such as 12x12 or bigger.
Save extra porcelain tiles
After you have laid the porcelain tile floor, make sure you keep any tiles left. Then, pack them in a box and label your box with the area you tiled (if you have tile in other rooms in your home, you'll want to differentiate). If you ever have to replace tiles within your home, you won't have to be concerned about finding the right porcelain floor tile.